Ingredients
Method
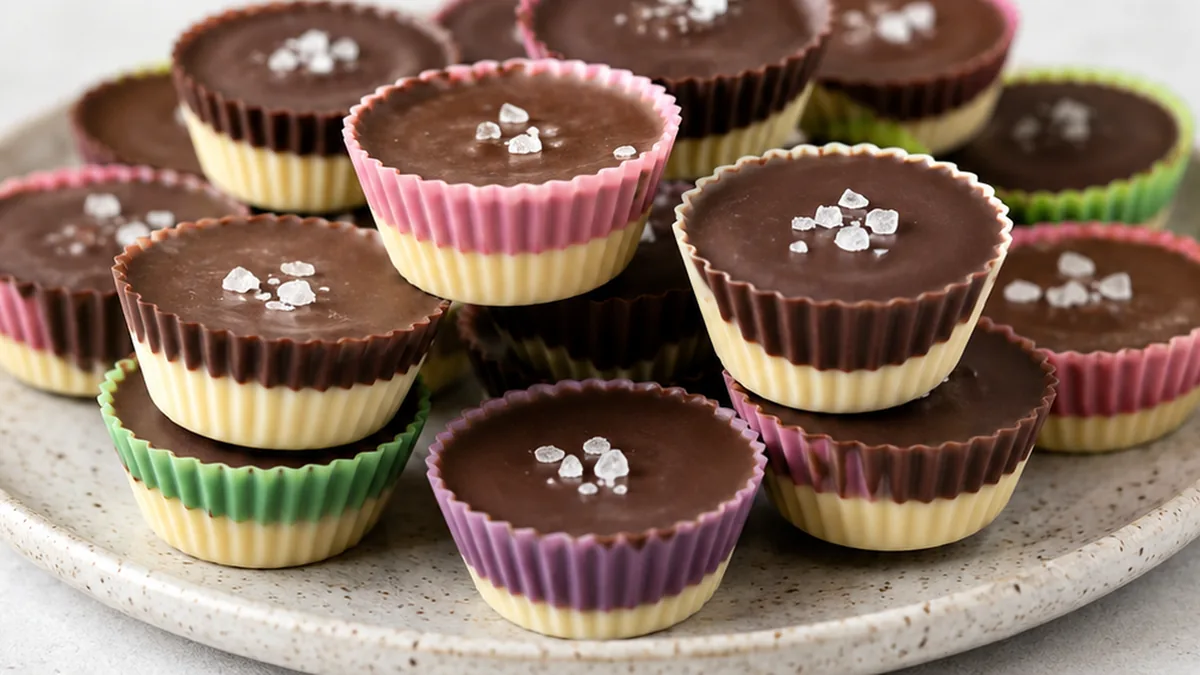
- Line a tray with waxed paper and set 24 mini silicone baking cups on it.
- Melt the white chocolate chips in a heatproof bowl over simmering water, stirring until smooth. Remove from heat but keep over the pan.
- Transfer melted white chocolate to a snack-size ziplock bag with a snipped corner and drizzle over the baking cups. Freeze until firm.
- Combine dark chocolate and cocoa butter in another heatproof bowl over simmering water. Stir until melted and smooth. Remove from heat.
- Working with one cup at a time, paint the dark chocolate on the bottom and sides of each frozen white chocolate cup, using about 1/2 teaspoon per cup. Freeze until firm.
- Cover any thin spots or holes with more dark chocolate and freeze again.
- Gently peel off the silicone cups and add your choice of fillings.
Notes
- For the cleanest release, ensure your chocolate is fully hardened between layers. Freezing for at least 10-15 minutes per layer is key.
- If your silicone cups are very flimsy, place them in a mini muffin pan before filling to provide stability and prevent spills.
- Store leftover chocolate cups in an airtight container in the refrigerator for up to 1 week, or freeze for up to 1 month. Thaw slightly before serving for the best texture. Nutrition information is an estimate, calculated automatically. Values vary with brands, substitutions and portion sizes.